Windows lets you use multiple user accounts on a single PC. So, you can create and switch between these accounts whenever you need to. You can even restrict features on other user accounts and prevent them from making changes. However, some users can’t switch to another account on their PC because the ‘Switch User’ option is missing from the Windows login screen or Start menu.

The main reason behind this issue is misconfigured Group Policy or Registry settings, a buggy Windows update, or a disabled user account. We will discuss five methods to fix this bothersome issue on Windows.
1. Configure a Policy in Group Policy Editor
Windows Pro, Enterprise, and Education users have the Group Policy Editor built-in. If the Fast User Switching policy is misconfigured, you can’t switch users on Windows. So, you’ll need to reset this policy using the Group Policy Editor. Here’s how to do it:
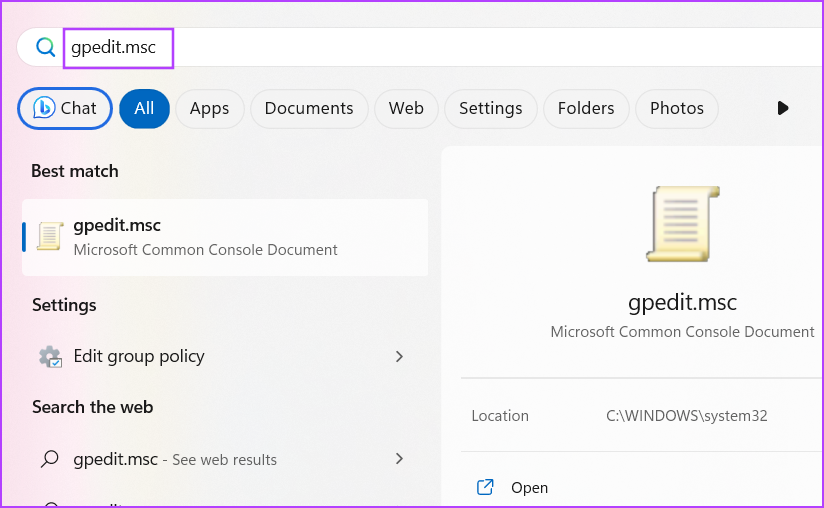
Step 1: Press the Windows key to open the Start menu, type gpedit.msc in the search bar, and press Enter.
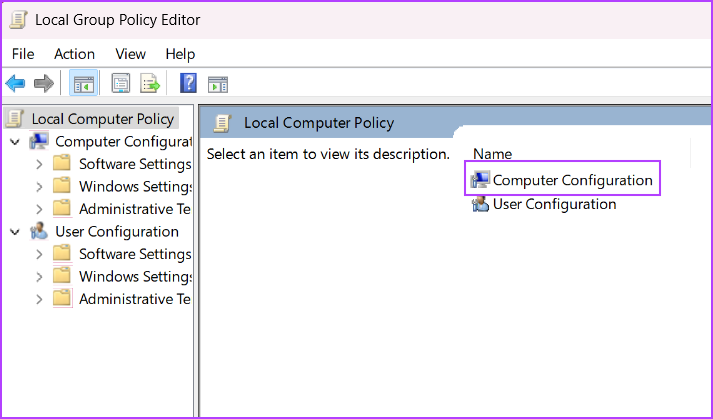
Step 2: In the Group Policy Editor window, click on the Computer Configuration option from the right pane.
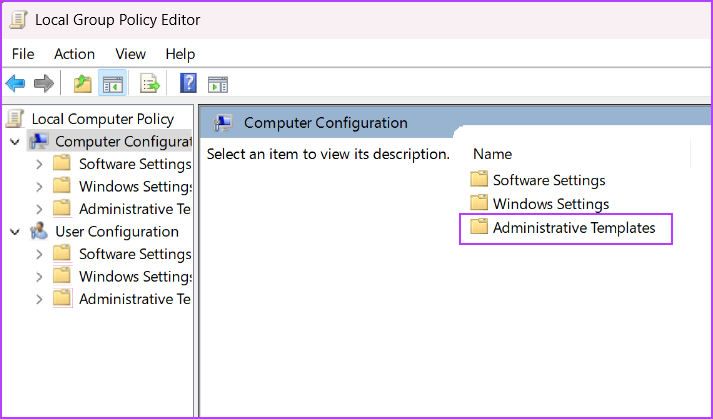
Step 3: Click on the Administrative Templates option.
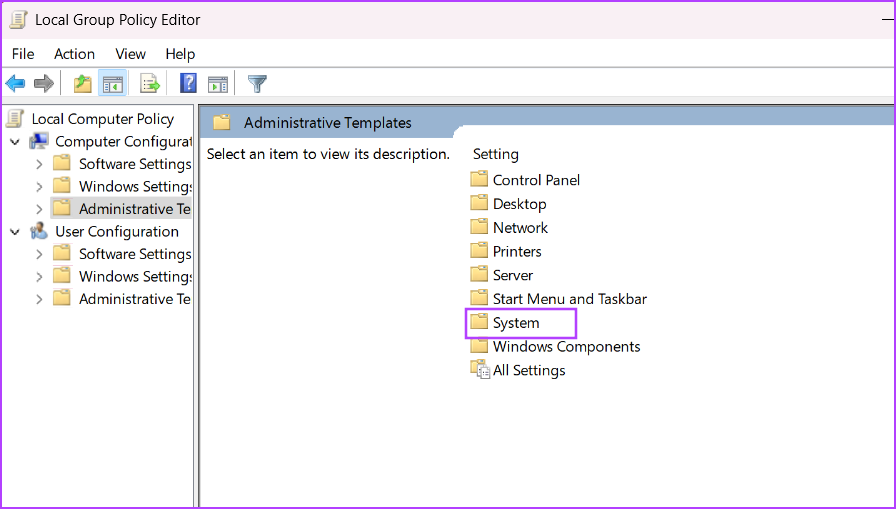
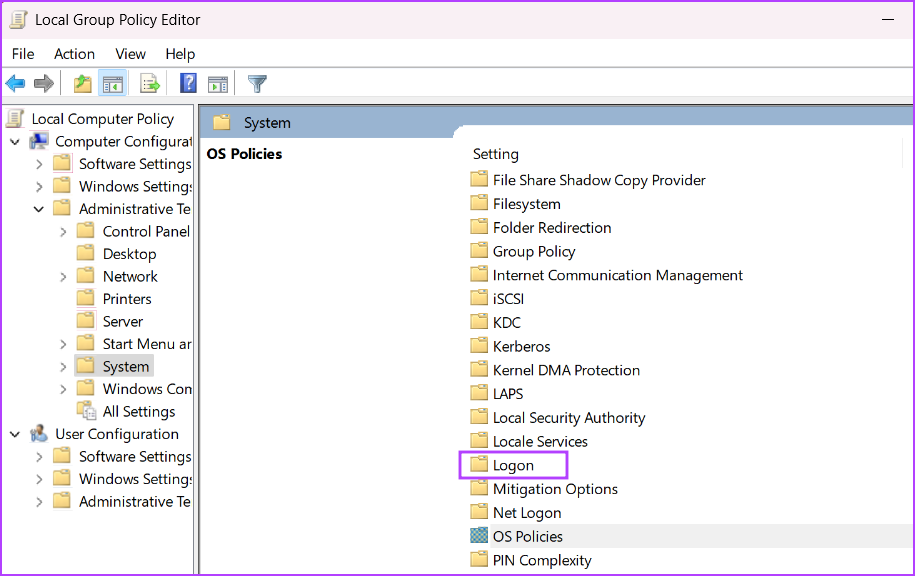
Step 4: Next, click on the System option.
Step 5: Locate the Logon policy folder under the System section and double-click to open it.
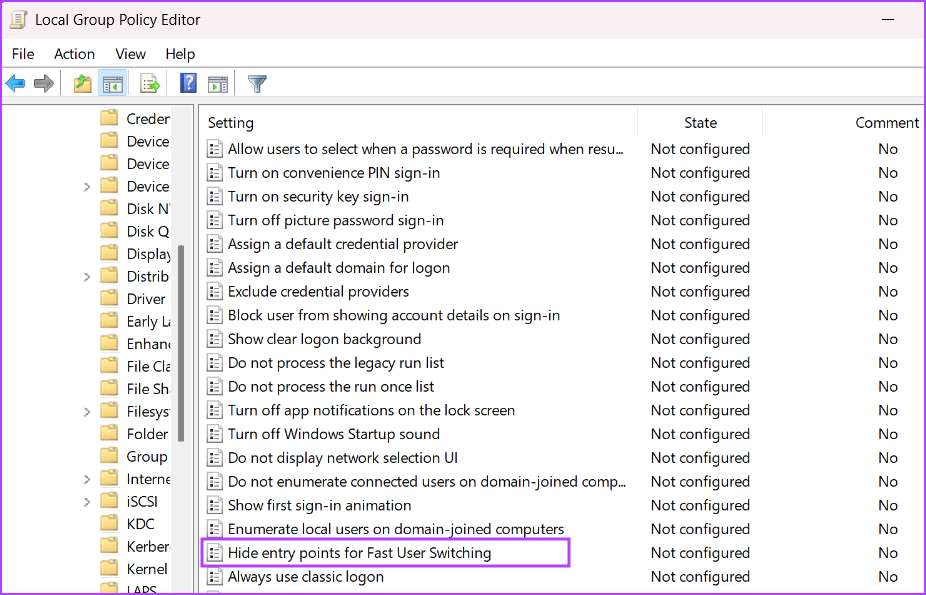
Step 6: Find the ‘Hide entry points for the Fast User Switching’ policy and double-click on it to open its properties.
Step 7: Select the Not Configured radio button to change the policy configuration. Click on the Apply button and then click on the OK button.
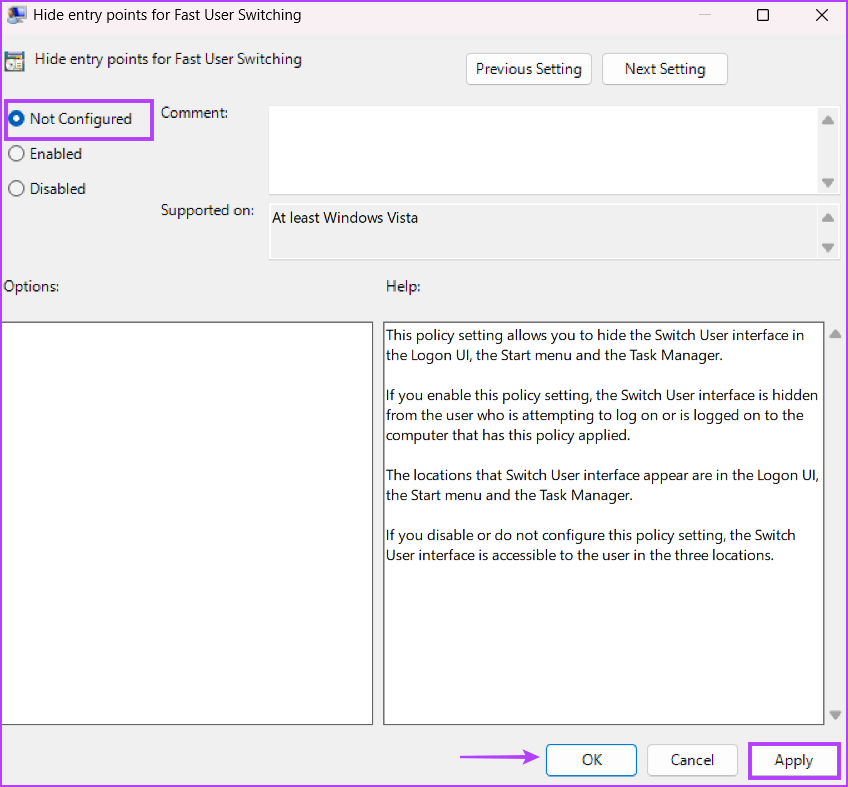
Step 8: Close the Group Policy Editor and restart your computer to apply the changes.
2. Modify Windows Registry
Windows Home users don’t have access to the Group Policy Editor. So, you will have to manually tweak the Windows Registry to restore the Switch User option in its working state. But before doing that, manually create a registry backup and save it on a USB drive. After that, repeat the following steps:
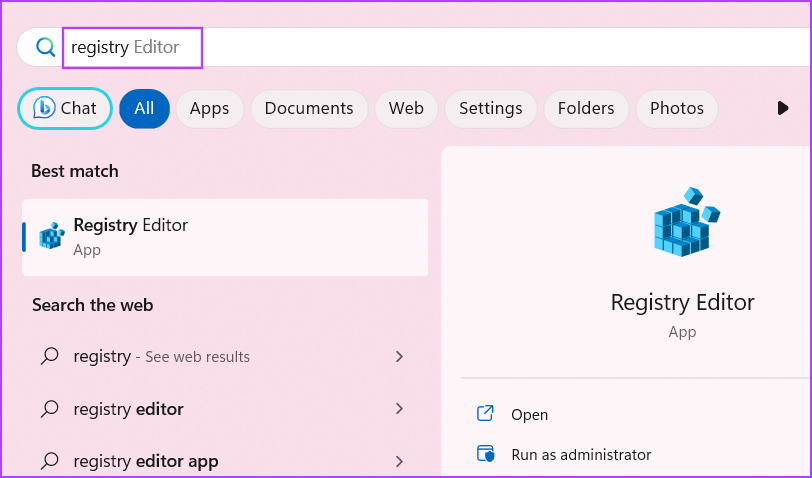
Step 1: Press the Windows key to launch the Start menu, type registry in the search bar, and press Enter.
Step 2: Go to the top address bar, paste the following path, and press Enter:
HKEY_LOCAL_MACHINE\SOFTWARE\Microsoft\Windows\CurrentVersion\Policies\System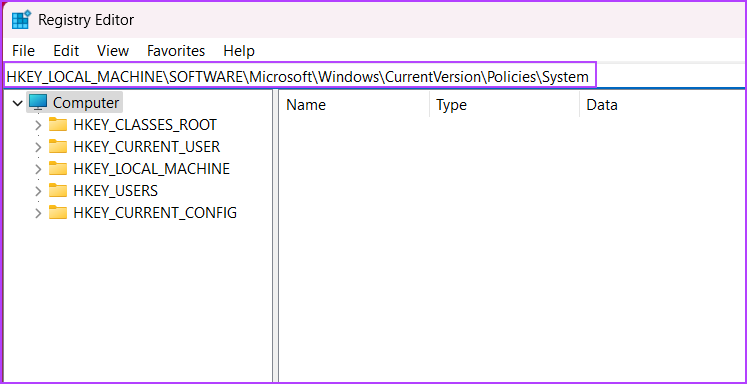
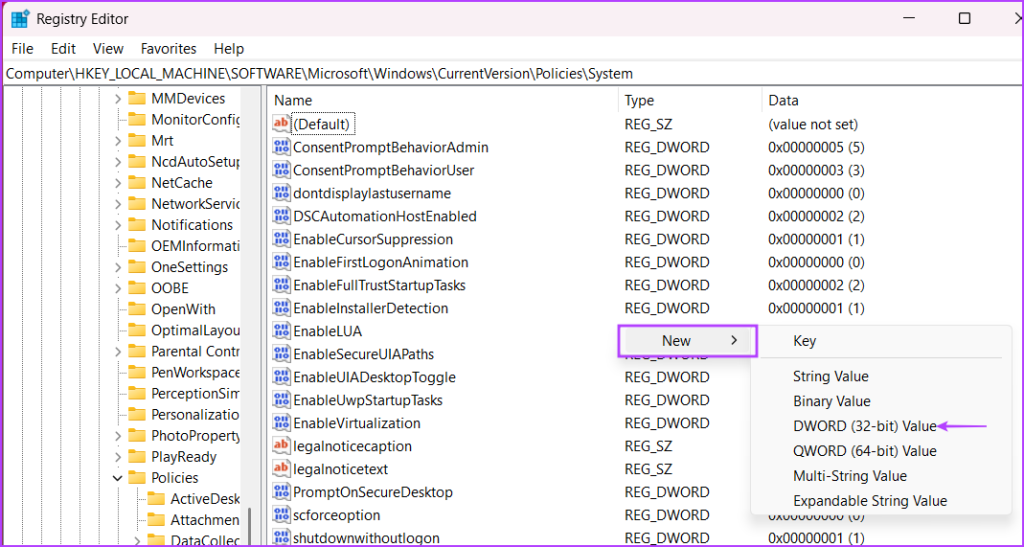
Step 3: Locate the HideFastUserSwitching registry value. If it doesn’t exist, right-click on the page and click on the New option. Then, click on the DWORD (32-bit) value option.
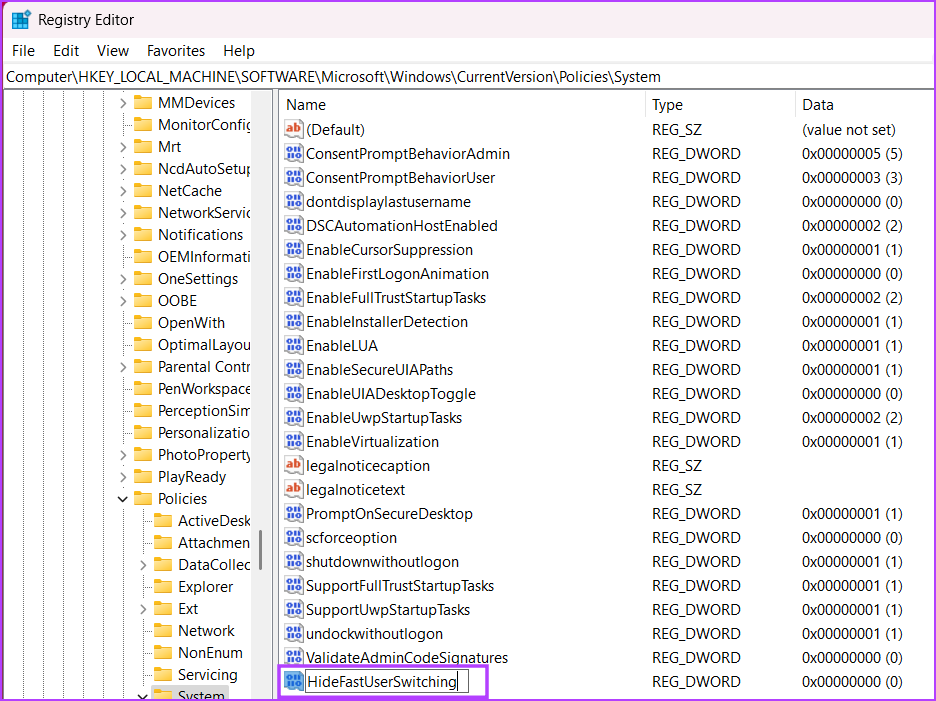
Step 4: Name the newly created DWORD (32-bit) value HideFastUserSwitching and double-click on it.
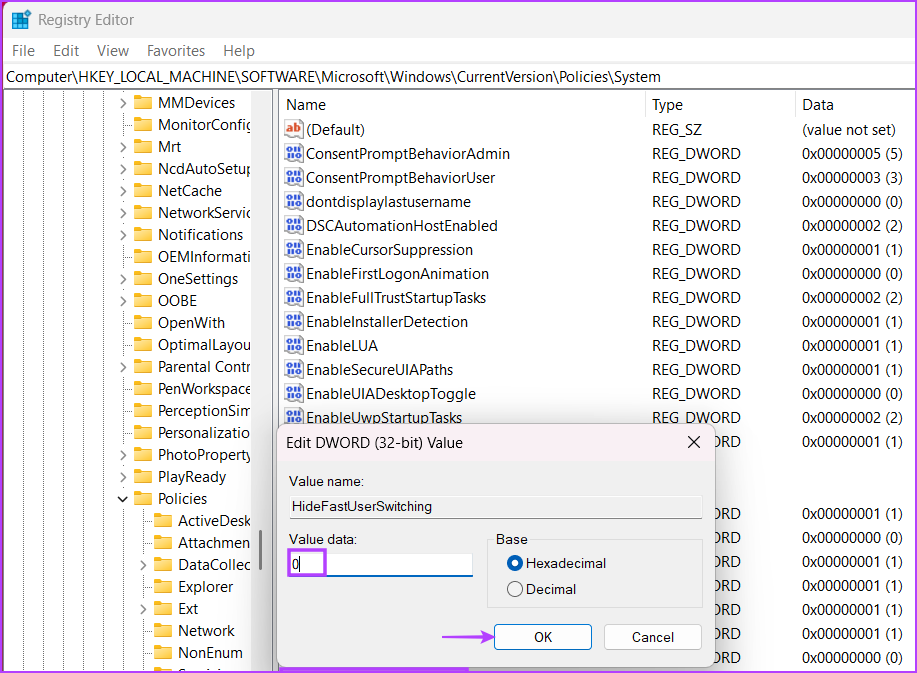
Step 5: Set the Value data to 0 and click on the OK button.
Step 6: Close the Registry Editor and restart your system to apply the changes.
3. Enable Inactive Accounts
If the other user accounts on your system are disabled, they won’t appear on the login screen. You won’t see the disabled user accounts in Control Panel or the Settings app. So, you must enable all the inactive accounts on your system using PowerShell. Repeat the following steps:
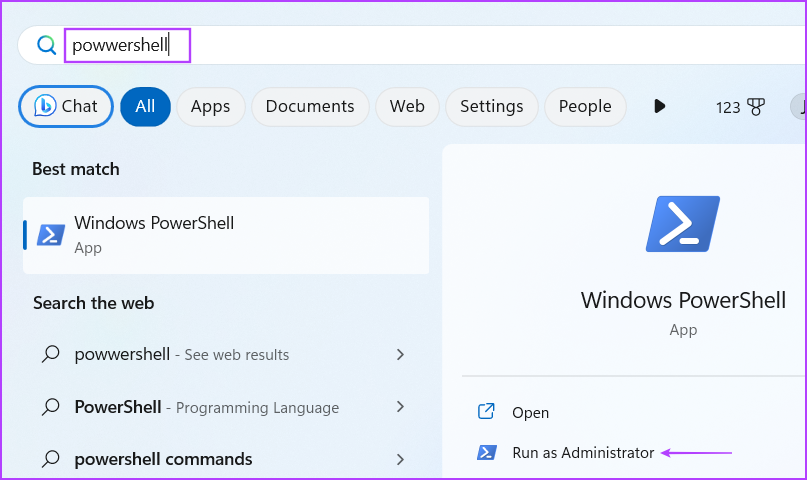
Step 1: Press the Windows key to open the Start menu, type PowerShell in the search bar, and click on the Run as administrator option.
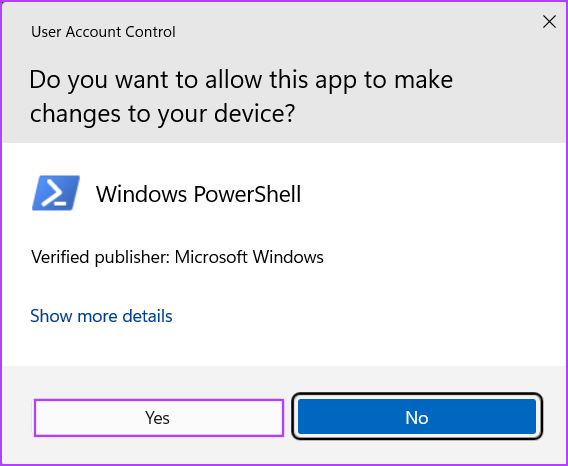
Step 2: The User Account Control window will pop up. Click on the Yes button to open PowerShell with administrator privileges.
Step 3: Type the following command and press Enter:
Get-localuser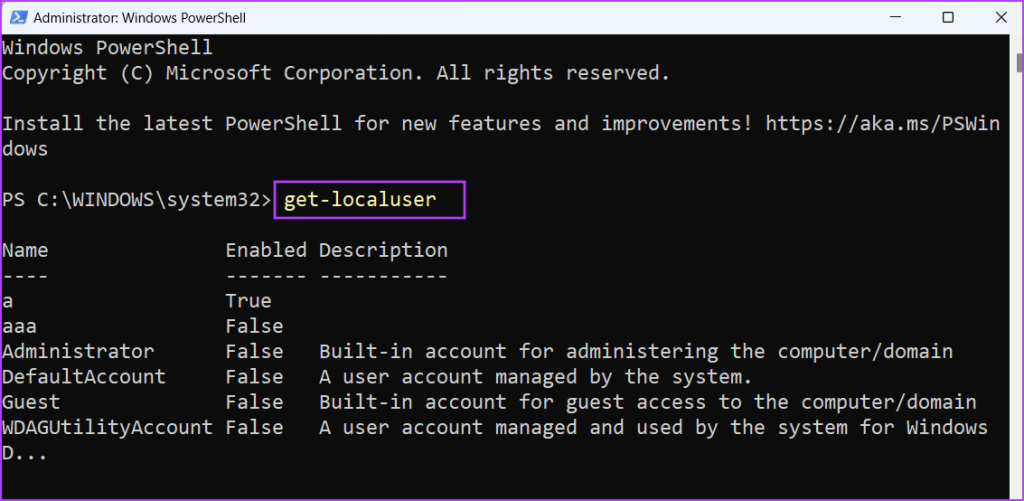
Step 4: You will see a list of all user accounts that exist on your system along with their current state (enabled or disabled). The command to enable an inactive user account is:
Net user username /active:yesStep 5: Replace the username in the above code with the name of the user accounts inactive on your PC. In our case, the command becomes:
Net user aaa /active:yes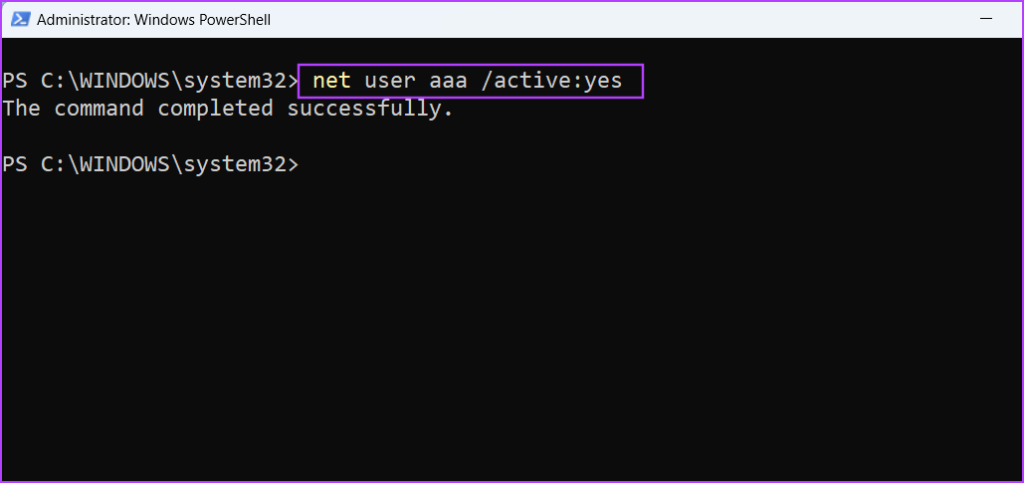
Step 5: If there are multiple inactive accounts, use the above command to enable all other inactive accounts.
Step 6: Lastly, restart your PC to apply the changes.
4. Remove a Recent Windows Update
Windows updates can break existing features on your PC. If you notice the Switch User option is missing after a recent Windows update installation, you must roll back the update. Here’s how:
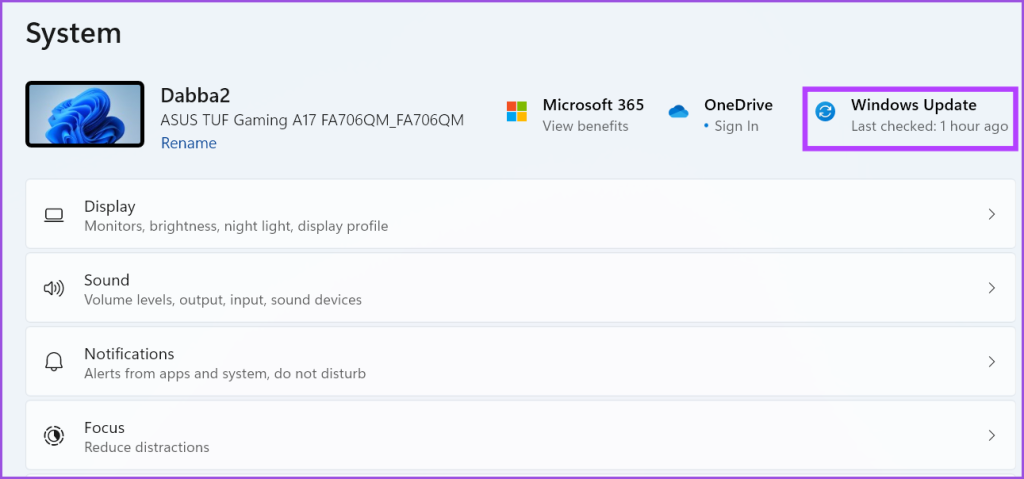
Step 1: Press the Windows + I keyboard shortcut to launch the Settings app. Click on the Windows Update icon in the top right corner.
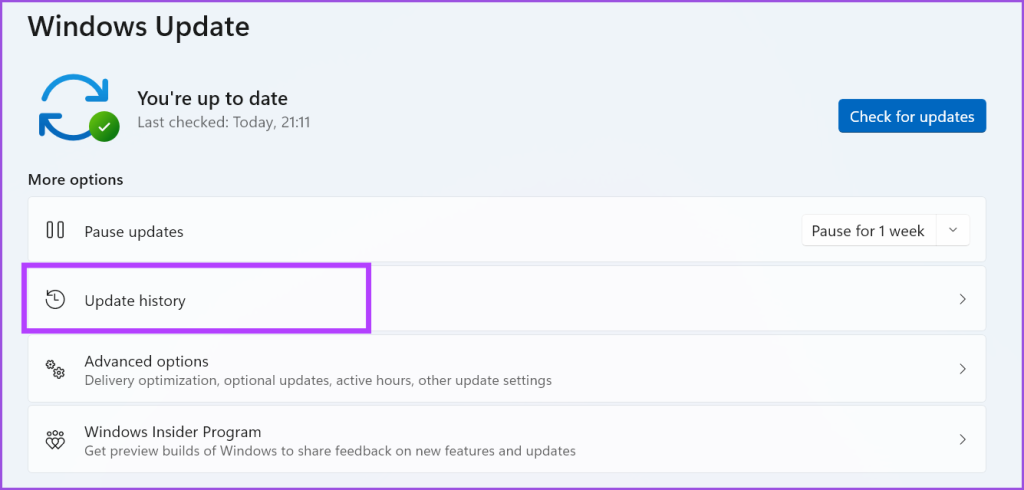
Step 2: Click on the Update history option.
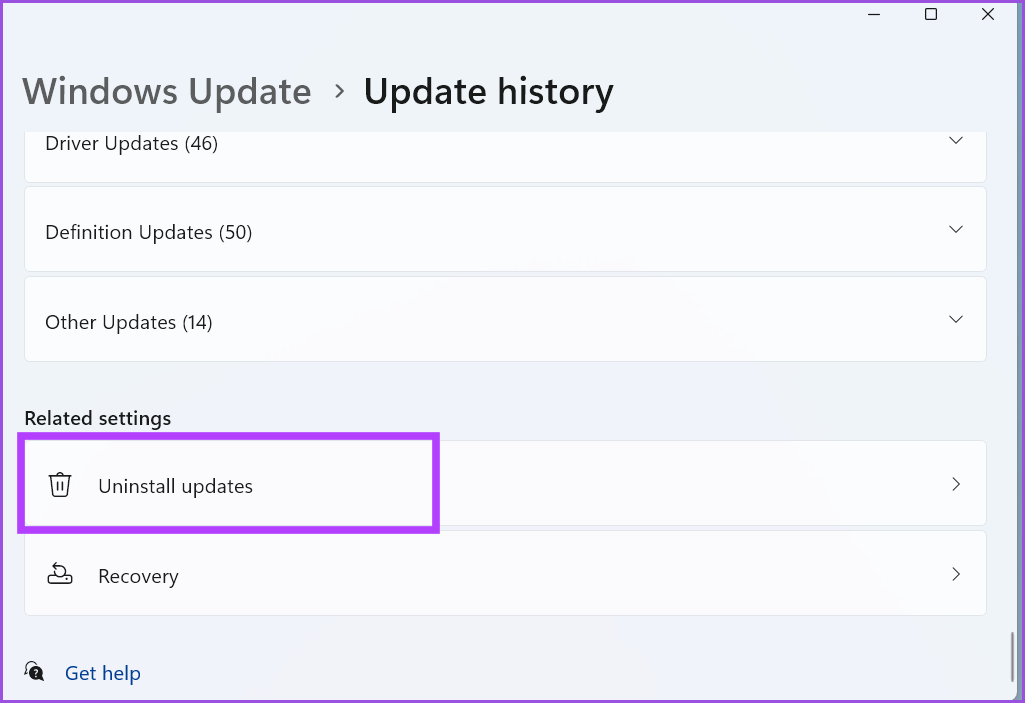
Step 3: Scroll down to the Related settings section. Click on the Uninstall updates option.
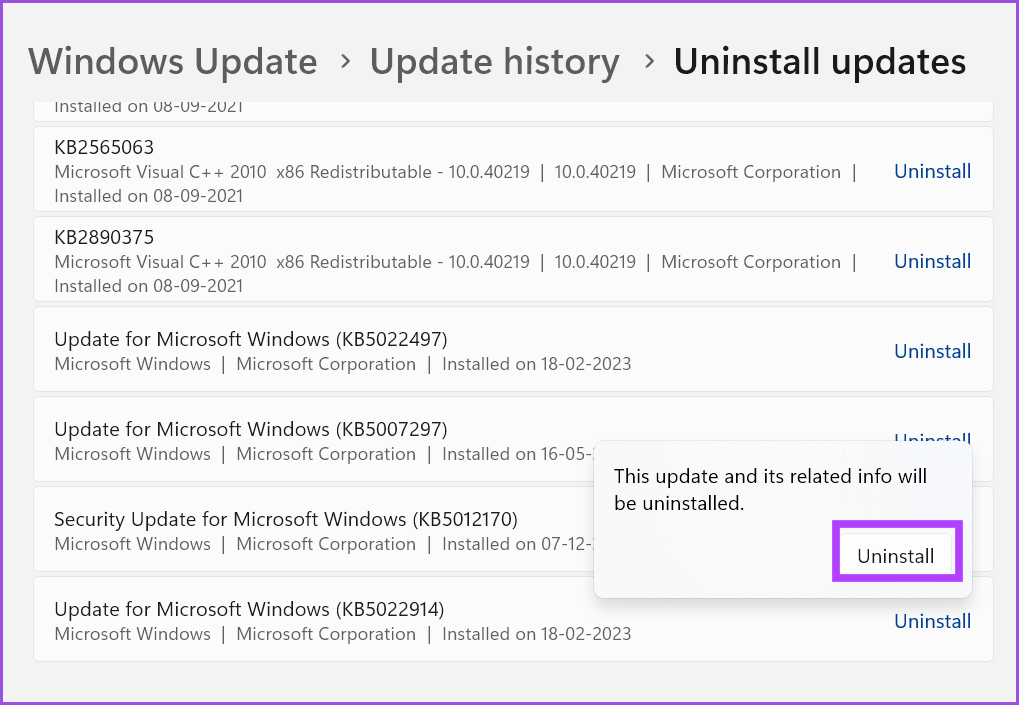
Step 4: Find the most recently installed update in the list and click on the Uninstall button.
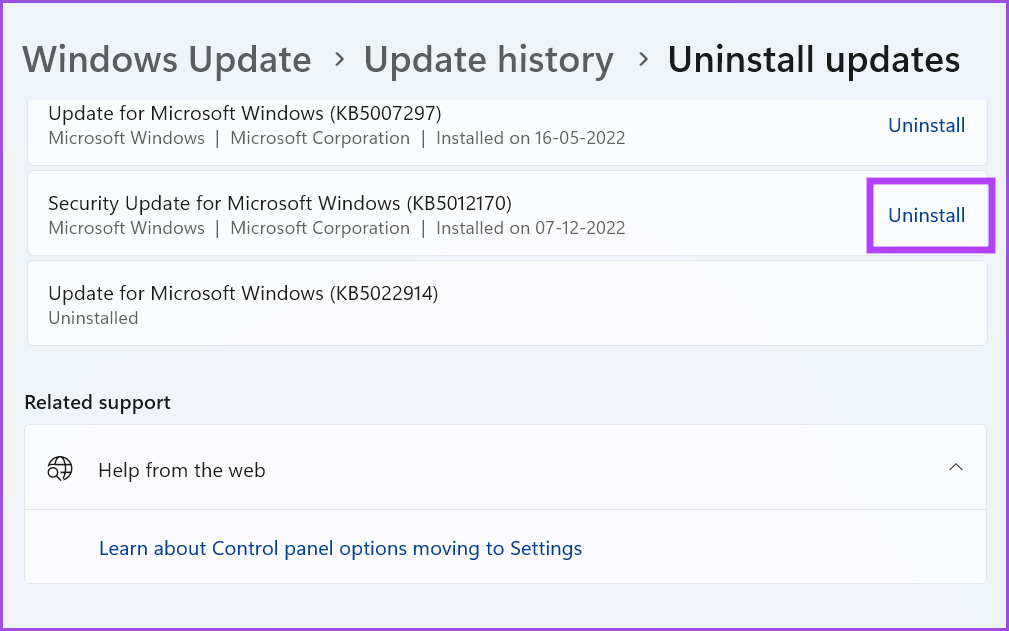
Step 5: Windows will reconfirm your decision to remove the update. Click on the Uninstall button.
Step 6: Close the Settings app.
5. Use System Restore
If removing Windows updates didn’t fix the No ‘Switch User’ option problem, you can use the System Restore utility. Windows creates a System Restore point periodically and whenever you install a new application, or driver on your PC. It will help you revert to an old restore point when everything worked fine. Repeat the following steps:
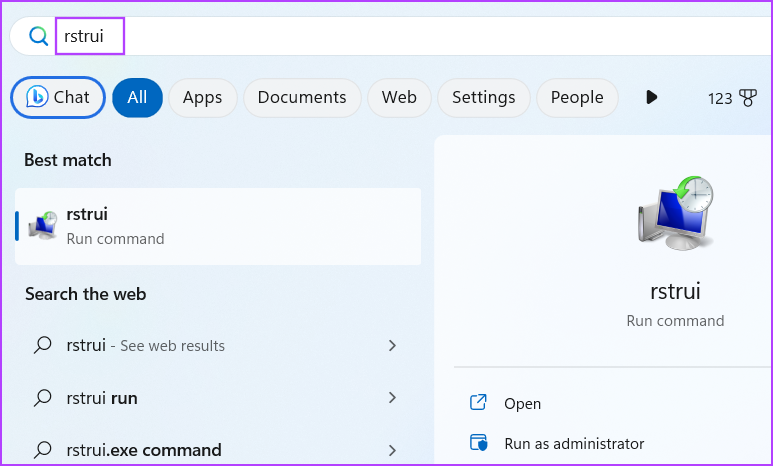
Step 1: Press the Windows key to launch the Start menu, type rstrui in the search bar, and press Enter.
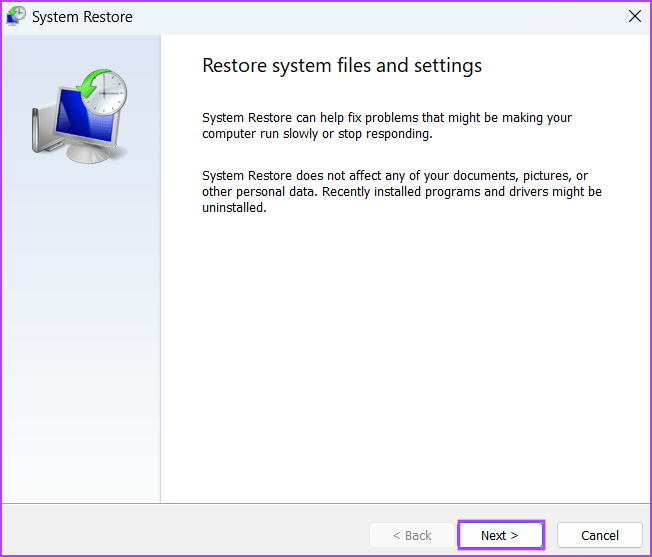
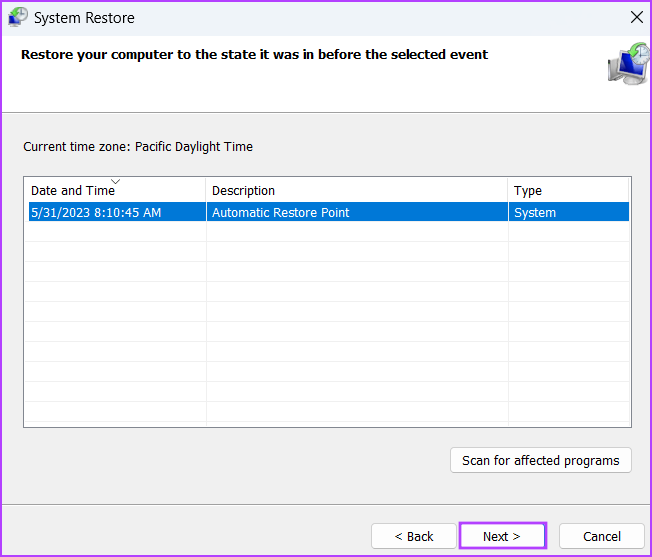
Step 2: Click on the Next button.
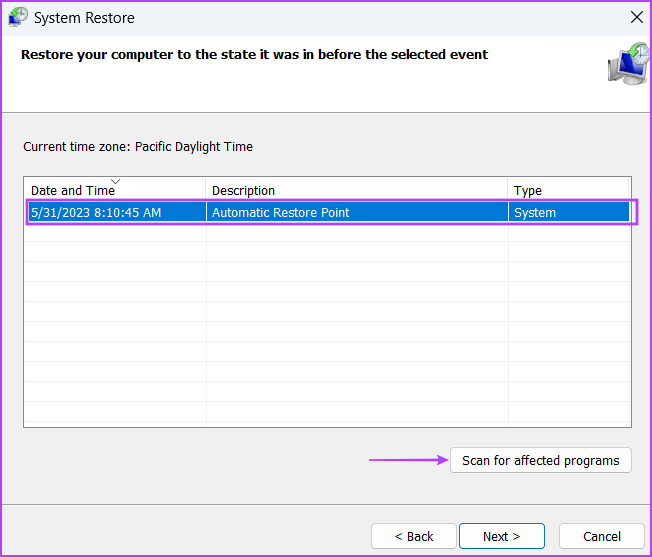
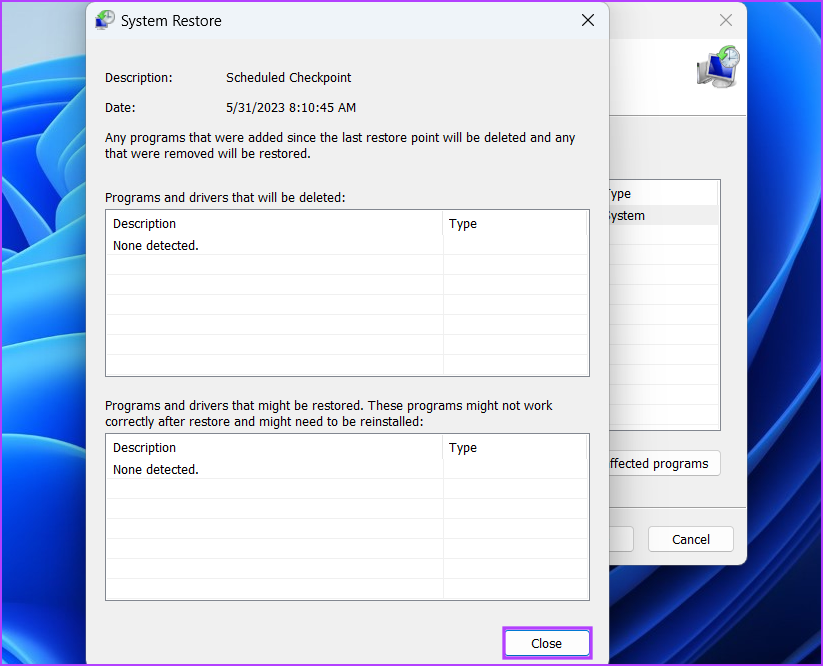
Step 3: System Restore will list all the available restore points on your PC. Click on a restore point to select it, and click on the ‘Scan for affected programs’ button.
Step 4: The utility will list all the programs it will remove if you use that restore point. Note all the programs and then click on the Close button.
Step 5: Click on the Next button.
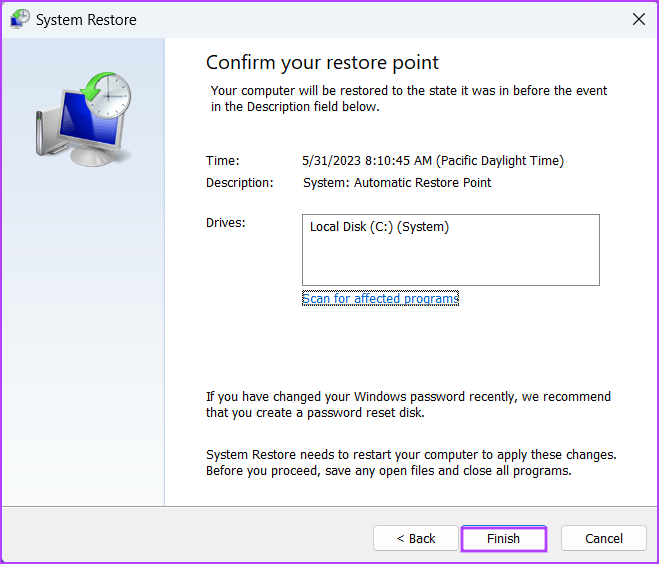
Step 6: Click on the Finish button to start System Restore. Your PC will restart to apply the restore point, and it will take a while to boot to the desktop.
Seamlessly Switch User Accounts
If the ‘Switch user’ option is missing from the Windows login screen, you are forced to sign in with the only available user account. Restore the Fast User Switching policy to its original configuration using the Group Policy Editor or Windows Registry. After that, re-enable all the disabled user accounts and remove a bothersome Windows update to fix the issue.
Last updated on 01 June, 2023
The above article may contain affiliate links which help support Guiding Tech. However, it does not affect our editorial integrity. The content remains unbiased and authentic.
Read Next
 Top 6 Ways to Fix Background Apps Permissions Option Missing on Windows 11
Windows 11 lets you manage background app permissions for each app individually.
Top 6 Ways to Fix Background Apps Permissions Option Missing on Windows 11
Windows 11 lets you manage background app permissions for each app individually.
 Top 6 Ways to Switch User Accounts in Windows 11
You may have set up multiple user accounts if you share your Windows 11 PC with family members or coworkers.
Top 6 Ways to Switch User Accounts in Windows 11
You may have set up multiple user accounts if you share your Windows 11 PC with family members or coworkers.
 Top 3 Ways to Fix Windows 10 Guest Account Not Appearing on Login Screen
The Windows operating system featured the ability to sign in as a guest user for the longest time.
Top 3 Ways to Fix Windows 10 Guest Account Not Appearing on Login Screen
The Windows operating system featured the ability to sign in as a guest user for the longest time.
 Top 11 Ways to Fix Windows 10 Showing Black Screen Before Login
What happens when you switch on your computer?
Top 11 Ways to Fix Windows 10 Showing Black Screen Before Login
What happens when you switch on your computer?
 Top 4 Ways to Disable Login Screen After Sleep on Windows 11
Sleep mode is a handy feature on Windows that helps your PC reduce power consumption when you’re away from your computer.
Top 4 Ways to Disable Login Screen After Sleep on Windows 11
Sleep mode is a handy feature on Windows that helps your PC reduce power consumption when you’re away from your computer.
 7 Best Ways to Fix Login Screen Not Showing in Windows 11
Signing into your Windows 11 computer is relatively straightforward.
7 Best Ways to Fix Login Screen Not Showing in Windows 11
Signing into your Windows 11 computer is relatively straightforward.
 Top 7 Ways to Fix the Login Error Code E84 in Steam for Windows
It can be confusing if Steam keeps showing you the error code E84 and the ‘Something went wrong while attempting to sign you in’ error.
Top 7 Ways to Fix the Login Error Code E84 in Steam for Windows
It can be confusing if Steam keeps showing you the error code E84 and the ‘Something went wrong while attempting to sign you in’ error.
DID YOU KNOW
Windows Hello is a biometric authentication feature in Windows 10.

