Learning how to use spreadsheets is a never-ending process. The more we use it, the more shortcuts and efficiency hacks we discover. Recently, we found a few ways to change the date format in Google Sheets. If you often get confused, this guide will help you understand how Google stores dates and how you can format them.
The easiest way to change the date format in Google Sheets is to change the local region. This helps it to adapt to the native date format. But you can also manually change the date format and customize everything about it. Further, you can automatically convert the date into a different format for a selected column.
Let’s begin and learn everything we need to. Firstly, let us look into how changing the region can help.
1. Change Locale to Use Regional Date Formatting
So, you have been taught to write dates in a certain format but Google Sheets does not accept it. But chances are your Google Sheets is operating for the settings of a different region.
Therefore, you can change the spreadsheet’s locale region. This will allow it to use the date format native to your region. Here’s how.
Step 1: Open the relevant sheet in Google Sheets and click on File.
Step 2: Select Settings.

Step 3: Click on the drop-down menu for Locale.

Step 4: Select the region you want to use in the format.

Step 5: Lastly, click on ‘Save and reload’.

That’s it! The next time you enter a date, it will be accepted in the format used in the local region.
But if you are seeking more controls to change the format of the date, take a look at the next section.
2. Manually Change the Date Format on Google Sheets
This is the ultimate way to change the date format on Google Sheets as you get full control of the format. You can make it the way you want regardless of the selected region. Let’s see how we can manually customize and change the date format on Google Sheets.
Step 1: Open the relevant sheet and click on the Format option in the toolbar.
Step 2: Select Number > ‘Custom date and time’.

You will see the current format of the date.

Step 3: Select any date format from the options.

Step 4: Click on Apply to save the changes.

However, if you want to change the individual elements of the date, here’s how to do it.
How to Change the Individual Elements of the Date
Step 1: Open the relevant sheet and click on the Format option in the toolbar.
Step 2: Select Number > ‘Custom date and time’.
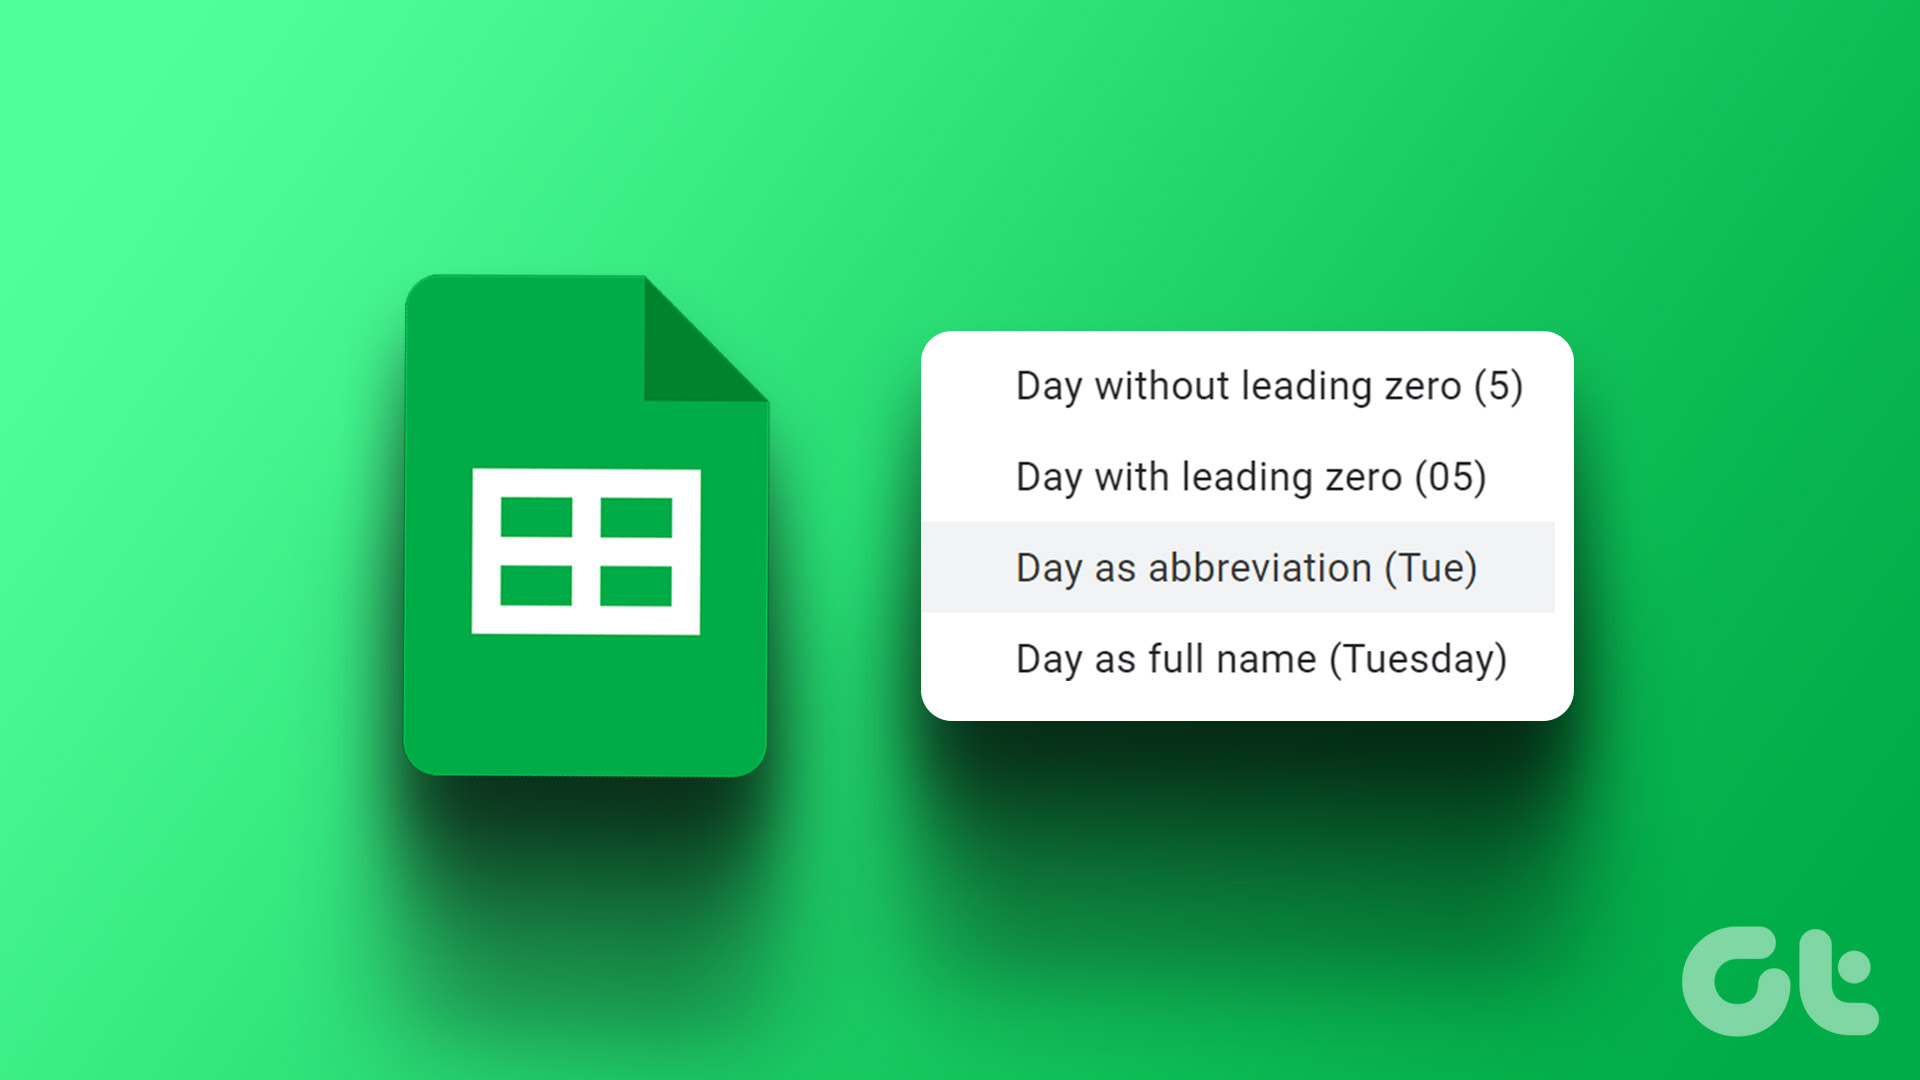
Step 3: Now, click on the element that you want to change.

Step 4: Select the format for the element. This will change the format for just that element.

While we showed how you can change for months, you can also individually change the days and the year part of the date by repeating the above steps.

Step 5: Click on Apply to save the changes.
But if you still are not satisfied and want to change the order of the date manually, move on to the next section.
How to Change the Date Order Manually
Step 1: Open the relevant sheet and click on the Format option in the toolbar.
Step 2: Select Number > ‘Custom date and time’.
Step 3: Click on each of the elements of the date.

Step 4: Click on Delete.
Repeat the process for all three elements, ensure the date field is fully empty, and remove any symbols like ‘-‘ and ‘*’ using your backspace key.

Step 5: Now, open the drop-down menu and select all the elements you want in this custom date, and in the order of how you want it.
For example: If I want to see the day first, I will click on the day, then the month, and the year. Once done, click on each of the elements to change and select a new format as shown in the previous section.

Step 6: Click on Apply to save the changes.
However, if you want to change the date format only for a few cells in your spreadsheet, take a look at the next section.
3. Automatically Change the Date Format on Google Sheets
So, you are working on a spreadsheet that already contains a set of dates adhering to the selected format on Google Sheets. However, if you just want to quickly convert them into a different format without changing the global date format on Google Sheets, follow the below steps.
Step 1: Open the relevant sheet in Google Sheets.
Step 2: Enter a range of dates in a column on Google Sheets.

Now, we want to convert the dates in column A into a format where the month appears as text and the rest of it remains the same. So, we can use the format ‘DD-mmm-YYYY’.
How did we assume that ‘mmm’ means month in the text format? There’s a date token guide written by Google. You can check it to understand how to type out the date format.
We want these converted dates in column B. Hence, we need to enter the following formula in a cell of column B that corresponds to the date in column A.
Step 2: Enter the formula and hit the enter key. Our dates start in cell A2 in column A, and we want to enter this formula in the corresponding cell – B2 in column B.
=arrayformula(if((A2:A)<>"",text(A2:A,"DD mmmm YYYY"),""))
Note: Modify the formula accordingly, that is replace ‘A2’ and ‘A’ with the ‘cell’ in which the dates begin and the ‘column‘ of the original dates respectively.

Step 3: You can now see that all the dates are converted to a different format.
As you enter a new date in a new cell in column A, it will automatically get converted to the ‘DD-mmm-YYYY’ format in column B.

Next, let us take a look at how to convert dates present in a text format to a recognizable serial number using the DATEVALUE function.
4. Use DATEVALUE to Convert Dates to Corresponding Numerical Value
The DATEVALUE function converts a date that is stored as text to a serial number that Google Sheets recognizes as a date. This is useful when you want to convert dates into a text format to a numerical value that will help you in calculations involving dates.
All you need to do is to enter the below formula into a new cell that you want the converted date value to be in.
=DATEVALUE(date_string)
In our case, the date in the text is present in cell A1, and we want the converted date value in cell B1. We need to enter the formula ‘=DATEVALUE(A1)’ in cell B1. You can also directly enter the date string in the formula.

This is how to change the format of dates in Google Sheets. Lastly, let us look at how we can solve the annoying problem of Google Sheets recognizing text as dates.
Bonus: How to Prevent Google Sheets from Converting Numbers to Dates
Whenever you enter any text that happens to be in the date format, Google Sheets may automatically consider it as a date.
But you just want it as plain text or a number. Moreover, considering it as a date will make the cell incompatible with all the formulae and other operations on Google Sheets. However, restoring it to plain text is quite simple. Here’s how we can do it.
As you can see here, we just entered ’11-1′ which may be anything. It can be a score of a game or indicating the period 11 AM – 1 PM in a daily schedule. And as you can see, when I select the ’11-1′ cell, Google Sheets shows it in the date format.

Step 1: Select and highlight all the cells that are wrongly considered as a date.

Step 2: Click on Format > Number and select Plain text.
Any data in all the selected cells will not be automatically converted into dates.

There you go! That is everything you need to know on how to change the date format on Google Sheets. These methods will certainly come in handy the next time you are working on Google Sheets. However, if you have more questions, look at the FAQ section below.
FAQs on Changing Date Format on Google Sheets
No, the change in settings will only apply to the particular spreadsheet you are working on.
You can enter the function TODAY() in a cell and it will return the current date. You can also check out this guide to know how to automatically add dates in Google Sheets.
Convert Dates With Ease
We appreciate the preset of date formats that Google Sheets provides. Hence, this makes it easy to change the date formats on Google Sheets. However, we feel spreadsheets have a high learning curve. But given the rise in AI products recently, we may hope for a more intuitive and easy-to-use spreadsheet tool!
You can also check out another helpful guide to using conditional formatting in Google Sheets.
Last updated on 14 March, 2023
The above article may contain affiliate links which help support Guiding Tech. However, it does not affect our editorial integrity. The content remains unbiased and authentic.
Read Next
 Top 3 Ways to Format Tables in Google Sheets
Working with several tables, charts, and cells in a long spreadsheet can become tedious.
Top 3 Ways to Format Tables in Google Sheets
Working with several tables, charts, and cells in a long spreadsheet can become tedious.
 How to Add Text and Format Legends in Google Sheets
Be it the humble pie chart or the slightly complicated stacked column chart, charts and graphs are great to visualize data that are otherwise too complicated to understand.
How to Add Text and Format Legends in Google Sheets
Be it the humble pie chart or the slightly complicated stacked column chart, charts and graphs are great to visualize data that are otherwise too complicated to understand.
 How to Change Default Font in Google Sheets: 3 Easy Ways
Google Sheets is a powerful spreadsheet application that allows you to create and edit spreadsheets on the go.
How to Change Default Font in Google Sheets: 3 Easy Ways
Google Sheets is a powerful spreadsheet application that allows you to create and edit spreadsheets on the go.
 2 Best Ways to Import Questions Into Google Forms From Google Sheets
Typically, when you create a Google Form, you need to perform several steps.
2 Best Ways to Import Questions Into Google Forms From Google Sheets
Typically, when you create a Google Form, you need to perform several steps.
 Top 8 Ways to Fix Google Sheets Won’t Let Me Type or Edit Error
Google Sheet allows users to collaborate on a single spreadsheet without needing to save anything.
Top 8 Ways to Fix Google Sheets Won’t Let Me Type or Edit Error
Google Sheet allows users to collaborate on a single spreadsheet without needing to save anything.
 8 Best Ways to Fix Google Sheets Won’t Let Me Scroll Error
Google Sheets is an easy-to-use and free spreadsheet app that works right out of the box.
8 Best Ways to Fix Google Sheets Won’t Let Me Scroll Error
Google Sheets is an easy-to-use and free spreadsheet app that works right out of the box.
 3 Easy Ways to Add Dates Automatically in Google Sheets
One doesn't need to worry about Microsoft's expensive subscription charges for Office 365, since Google offers a free alternative, Google Sheets.
3 Easy Ways to Add Dates Automatically in Google Sheets
One doesn't need to worry about Microsoft's expensive subscription charges for Office 365, since Google offers a free alternative, Google Sheets.
 3 Ways to Add or Remove Gridlines in Google Sheets
Gridlines help in distinguishing and separating cells in Google Sheets.
3 Ways to Add or Remove Gridlines in Google Sheets
Gridlines help in distinguishing and separating cells in Google Sheets.
DID YOU KNOW
PayPal was voted as one of the top 10 worst business ideas in 1999.
